Buying a new plan? Enter
ESIMDUDE15for 15% off eligible Nomad plans at checkout. See Nomad eSIM coupon for exclusions.
Key takeaways
- Install on stable Wi-Fi before travel; activate by turning the line on after you arrive.
- The install happens in phone settings (Add eSIM), not inside the Nomad app alone.
- Set Nomad as the mobile-data line, enable roaming for that line only, and turn off automatic data switching.
- Keep your home SIM installed for calls, texts and bank codes — adding Nomad does not remove it.
- Special Thailand plans are the exception: install those only after landing in Thailand.
Before you start
- Confirm your phone is eSIM-compatible and carrier-unlocked.
- Keep stable Wi-Fi available during installation.
- Save the Nomad confirmation email, QR code and manual details.
- Do not delete your home SIM; you can keep it for calls/texts.
- Check your plan's destination and activation notes.
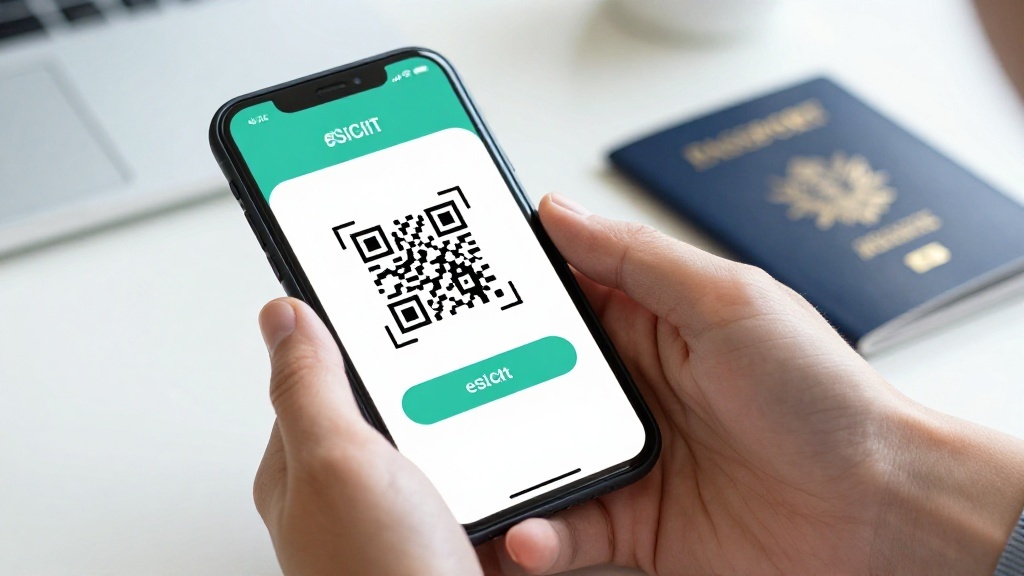
Nomad says eSIM installation happens in the phone settings, not inside the app/site alone. Your QR code is found in the confirmation email or Nomad app. Not sure your phone qualifies? See Nomad eSIM compatible devices.
Ready to buy before you install? Use ESIMDUDE15 for 15% off eligible plans.
Install on iPhone
- Open Settings > Mobile Service/Cellular > Add eSIM.
- Choose Use QR Code and scan the Nomad code.
- If scanning fails, choose manual entry and use Nomad's supplied details.
- Give the line a clear name, such as "Nomad Europe".
- Choose Nomad under Mobile Data when you are ready to use it.
- Turn data roaming on for the Nomad line.
- Turn Allow Cellular Data Switching off to protect your home line.

Watch: Apple's official iPhone eSIM setup video
This is Apple's own support video. It shows every way an eSIM can be added to an iPhone — QR code, carrier activation, quick transfer and manual setup — so it covers whichever method your Nomad order uses.
Video summary: Apple Support demonstrates the four iPhone eSIM activation routes — eSIM Quick Transfer from an old iPhone, automatic carrier activation, scanning a QR code (the method most Nomad orders use), and manual entry in Settings. The QR and manual routes map directly to the numbered steps above.
Install on Samsung and other Android phones
On Samsung, open Settings > Connections > SIM manager > Add eSIM. On Pixel and many other Android phones, use Settings > Network & internet > SIMs > Add eSIM. Scan the QR code or use the manual details. Then set the Nomad profile as your mobile-data SIM and enable roaming for it.
Menus vary by manufacturer. Follow the labels, not the exact spelling in this guide.
When should Nomad activate?
Nomad says most plans start when the eSIM connects to a supported local network, with data roaming enabled. Install before travel if appropriate, then turn the line on after arrival. If it does not connect in your departure airport, that is usually expected.
Thailand has special products. Nomad says its Unlimited Thailand and Thailand 50GB/10-day plans should be installed after arriving in Thailand; installing early can start validity and cause errors. Those named Thailand plans also cannot use promo codes. See Nomad Thailand eSIM for the full rule.
Settings cheat sheet by phone
Menus differ between manufacturers. This table maps the three settings that matter on the most common phones.
| Phone | Add the eSIM | Set data line | Enable roaming (Nomad line) |
|---|---|---|---|
| iPhone | Settings > Mobile Service/Cellular > Add eSIM | Settings > Mobile Data > choose Nomad | Mobile Data Options > Data Roaming on |
| Samsung | Settings > Connections > SIM manager > Add eSIM | SIM manager > Mobile data > Nomad | Connections > Mobile networks > Data roaming |
| Pixel / other Android | Settings > Network & internet > SIMs > Add eSIM | SIMs > Nomad > Mobile data on | SIMs > Nomad > Roaming on |
On every phone, also turn off the automatic data-switching option so your home SIM cannot quietly become the data line abroad.
Test it without wasting time
After landing, open Maps or a simple webpage with Wi-Fi turned off. If data does not work, check that Nomad—not your home SIM—is selected for mobile data, roaming is enabled, and the country is covered. Toggle airplane mode and wait. If that fails, follow Nomad eSIM not working before removing the profile.
FAQ
Can I install Nomad before travel?
Usually yes, with Wi-Fi, then activate it at the destination. Follow plan-specific instructions. Special Thailand products should be installed after arrival.
Does adding Nomad remove my normal SIM?
No. Nomad says a separate eSIM profile does not alter existing SIMs. You choose which line supplies data.
What if the QR code will not scan?
Use Add eSIM in phone settings and choose manual entry with Nomad's supplied information. Keep a stable Wi-Fi connection.
Bottom line
Install calmly on Wi-Fi, label the eSIM, choose it for mobile data and enable roaming only for the travel line. The setup is small; choosing the right data line is the important bit.

Alex Carter
Checked against Nomad's installation help, activation guide and device compatibility page on 19 July 2026.